Download the Lessonotes Mobile Liberia app for faster lesson access on Android and iPhone.
Subject: Physics
Semester: 1
Period: 3
Week: 15
School Name:
Teacher’s Name:
Subject: Physics
Grade Level: Grade 12
Week & Period: Week 15, Period III
Date:
Topic: Magnetism and Electromagnetism
Sub-Topic: Moving Coil Galvanometer
Learning Objectives:
By the end of the lesson, learners should be able to:
- Explain the principle of the moving coil galvanometer.
- Identify the components and construction of a moving coil galvanometer.
- Describe the function of each component.
- Analyze how magnetic force creates motion in the galvanometer.
- Apply the concept of torque and equilibrium in explaining pointer deflection.
Instructional Materials:
- Diagram/chart of moving coil galvanometer
- Real or model galvanometer
- Copper wire
- Permanent magnets
- Pivot or spring
- Pointer and scale
- Power supply
- Galvanometer simulation software
Anticipation (Warm-Up Activity):
Ask learners:
“How do we measure small currents in a circuit accurately?”
Demonstrate a basic galvanometer showing pointer deflection when connected to a cell.
Building Knowledge (Main Lesson):
- What is a Moving Coil Galvanometer?
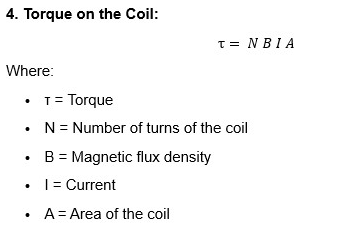
It is an instrument used to detect and measure small electric currents. It works on the principle that a current-carrying coil placed in a magnetic field experiences a torque.
- Components of a Moving Coil Galvanometer:
- Rectangular Coil: Carries current, suspended between magnetic poles
- Magnet: Provides strong radial magnetic field
- Soft iron core: Concentrates and strengthens the magnetic field
- Hair spring: Provides restoring torque and current connection
- Pointer and scale: Indicates the degree of deflection
- Principle of Operation:
- When current flows through the coil, it experiences a force due to the magnetic field
- This force causes the coil (and attached pointer) to rotate
- The spring opposes the motion until equilibrium is reached
- The pointer’s deflection is proportional to the current
Activities/Experiment:
Demonstration: Galvanometer Working
Materials: Model galvanometer, variable power supply
Procedure:
- Connect galvanometer to power source
- Vary the voltage
- Observe pointer movement
Observation:
Pointer deflects more as current increases
Conclusion:
Deflection is proportional to current
Experiment: Constructing a Basic Galvanometer
Materials:
- Small coil of copper wire
- U-shaped magnets
- Cardboard and pointer
- Paper scale
- Spring or rubber band
Procedure:
- Mount coil between magnetic poles
- Connect ends to a cell via a spring
- Attach pointer and scale
- Observe deflection as current flows
Conclusion:
Homemade galvanometer demonstrates deflection due to magnetic force on a coil
Homework:
- Draw and label the diagram of a moving coil galvanometer.
- Explain why the magnetic field used is radial.
- Identify two everyday devices that use the principle of galvanometers.
Expanded Notes:
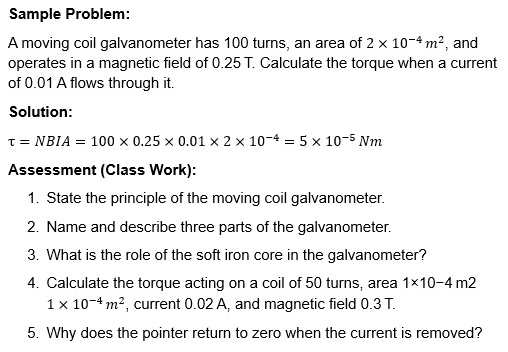
- The sensitivity of a galvanometer depends on the number of turns, strength of the magnetic field, and area of the coil.
- Galvanometers are used in analog ammeters and voltmeters after modification.
- Modern digital devices use electronic alternatives, but the galvanometer is foundational.
Differentiation:
- Real model demonstration for tactile learners
- Diagrams and interactive simulations for visual learners
- Analogy: “like a compass needle deflecting due to nearby current” for auditory learners
Teacher’s Reflection:
- Were learners able to link current with deflection?
- Did they understand the torque concept clearly?
- Was the diagram/model helpful in comprehension?